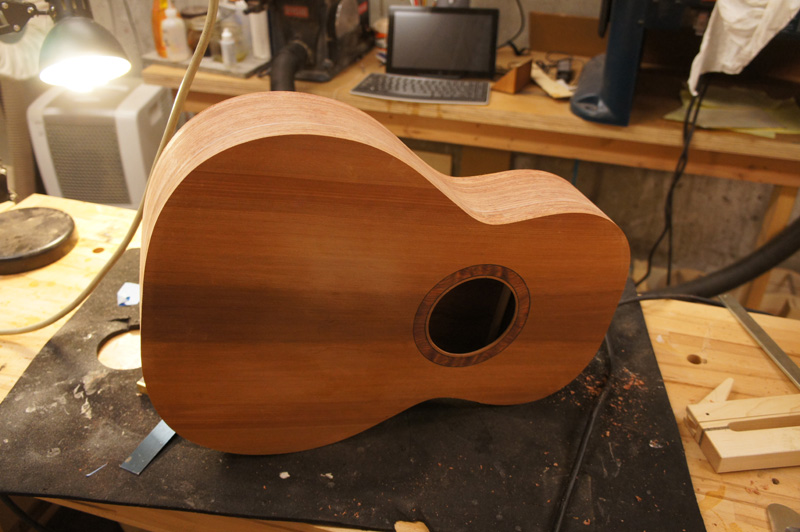
The rim is complete ready for a back and top. As I mentioned in an earlier post
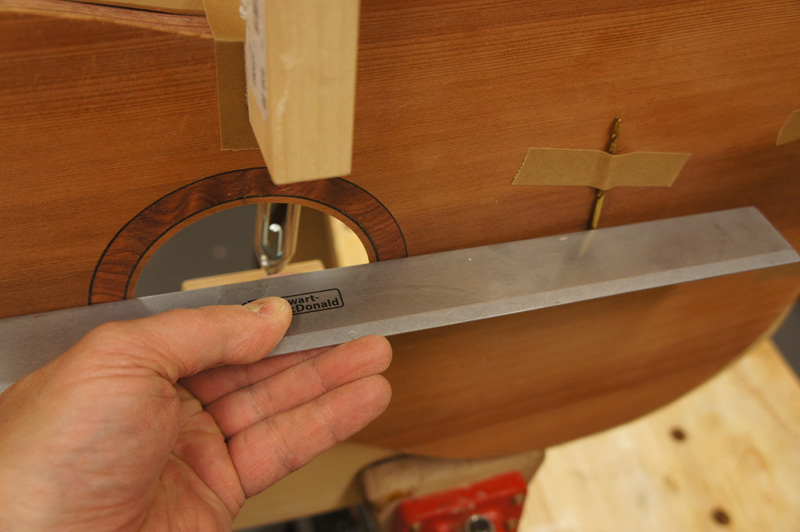
I do a rough check of the profile of the top by clamping the top on to the rim and placing a straight edge
along the fret board and string path to see what I have for a gap at the saddle. I have almost exactly 1/16" gap now.
I will also recheck with the braced and fitted top before I glue it on. At lease now I know I am close and can put the rims
aside.
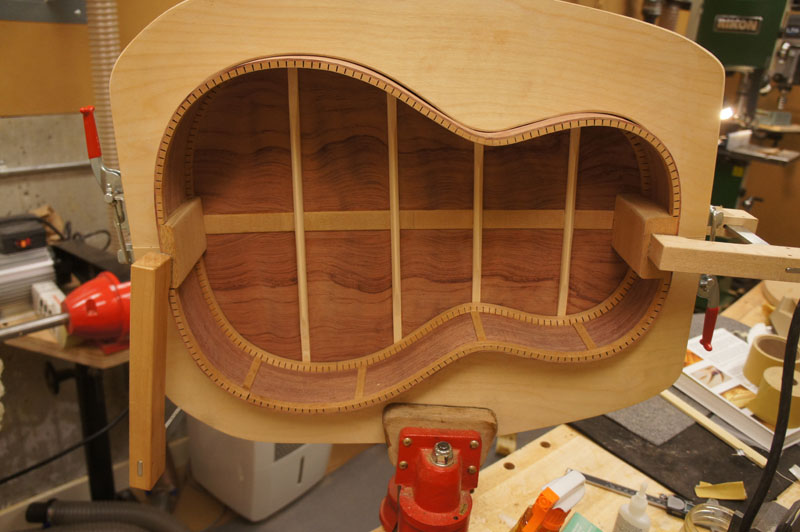
Sorry about the number of posts, but I am on vacation doing what I like best. I am moving along. I braced the back and have marked out the rebates on the rims. I could probably have routed out the rebates for the braces tonight, but I had a glass of wine at dinner and I hate to use power tools after any drinking.
As you can see I moved away from using a pencil to mark cuts and have switched to a scalpel for greater accuracy. The are so much sharper than an exacto knife; one needs to be careful. The mark I made on the center strip cut all of the way through the strip. After I removed the back I just chiseled the overlap off.
After working on the harp ukulele for 6 months this 00 seems ridiculously huge. I keep checking to make sure I am not using my dread patterns and molds.
Dec 28th 2012
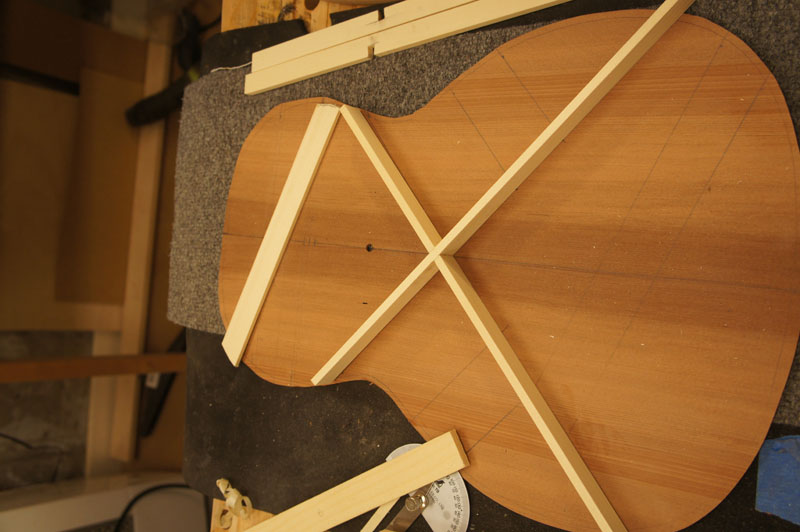
On to the top! I roughed out all of the braces. I cut them close on the band saw and either plane them or use the drum sander
to take them to the correct width. I am changing the bracing pattern slightly from the plans for the 00 that I have.
Those plans have two 1/4" wide upper transverse braces. Having two tall braces seemed like a pain with a bolt on neck and the truss rod adjustments.
So I switched to one slightly thicker transverse braces moved lower toward the sound hole a bit and a popsicle brace.
This is more like the 0 sized and the D14 sized guitars I have built.
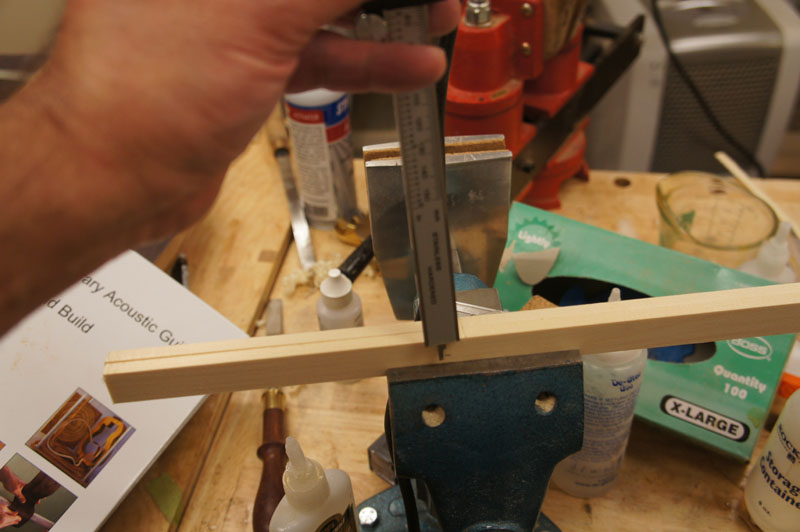
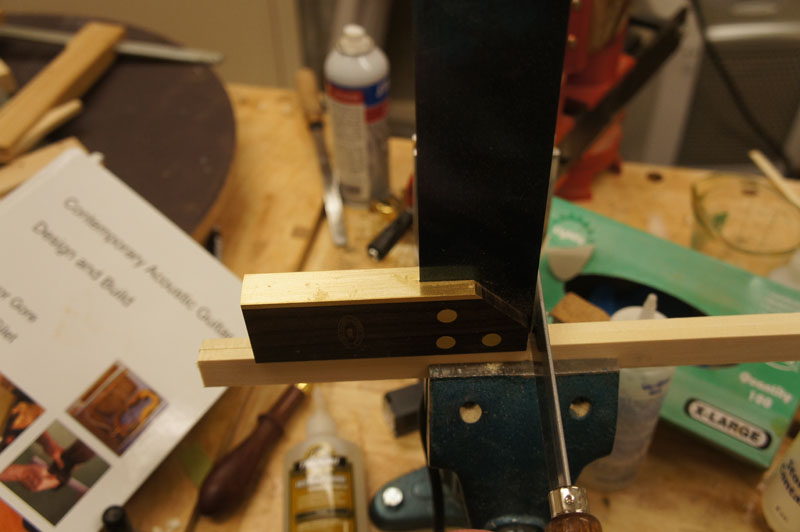
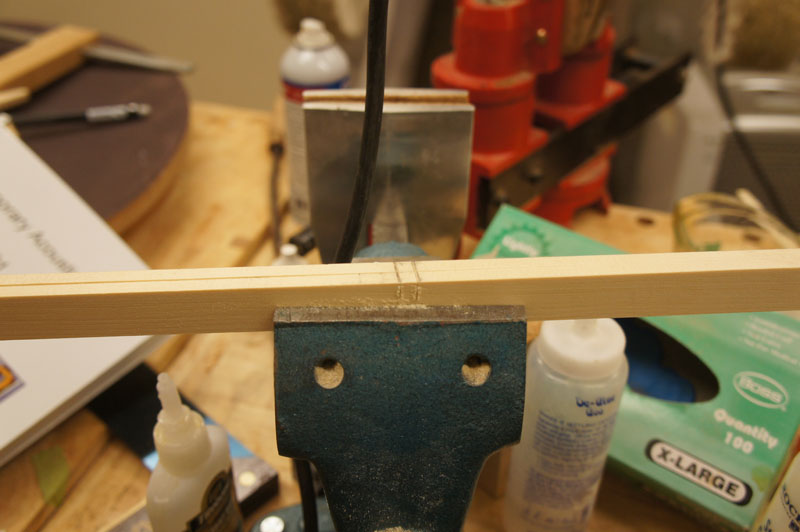
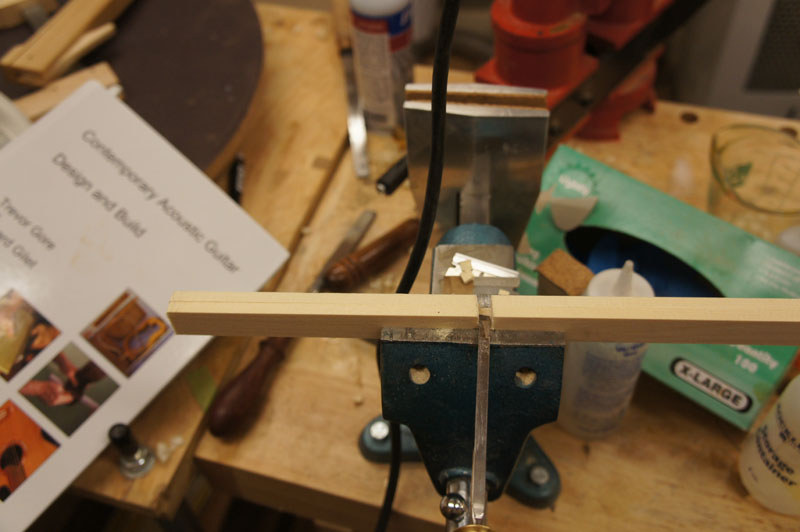
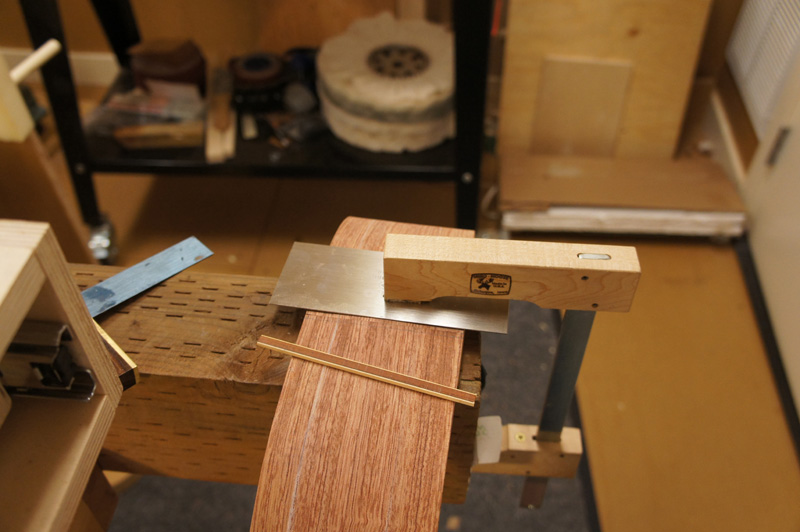
I have a few pictures of making the x-brace. This had been hit or miss for me. Now I use an angle tool to mark out the lines I want to cut.
I place the braces together in my parrot vise so that only the depth I want cut is above the vise head. After cutting nice but angled lines going down,
I take the time to use a square to make sure I am cutting square. Otherwise the braces are tilted.
Now I am just waiting for the braces and the maple bridge patch to set.
Dec 29th 2012
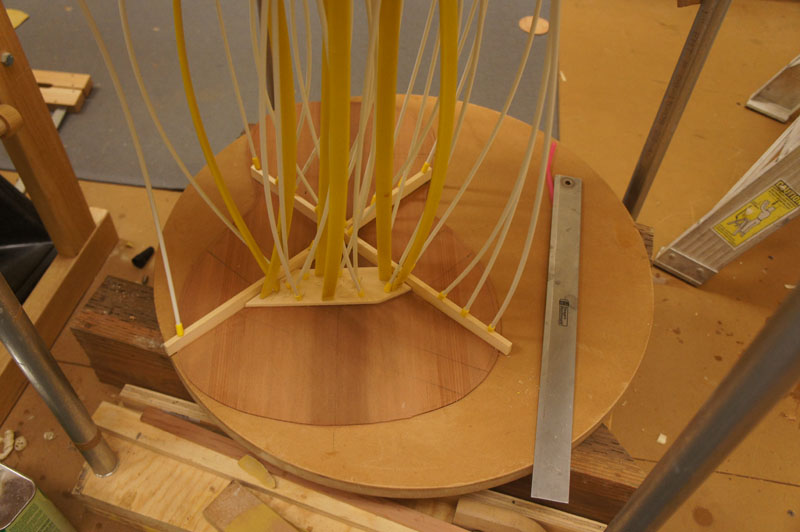
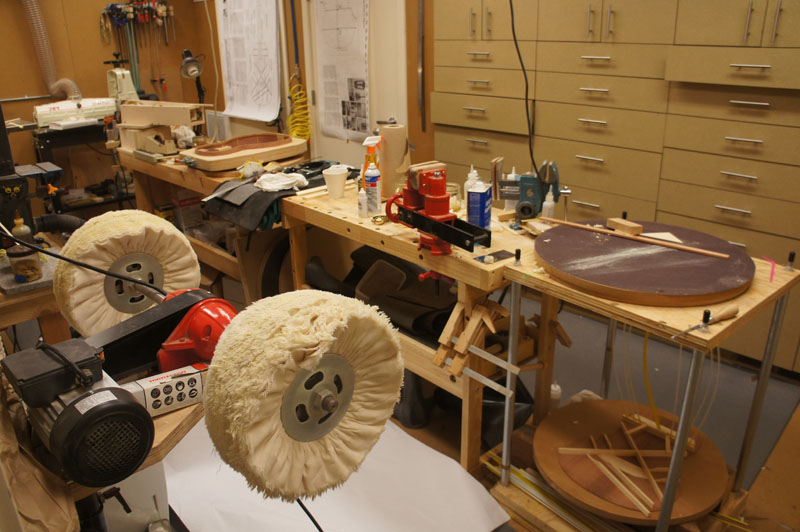
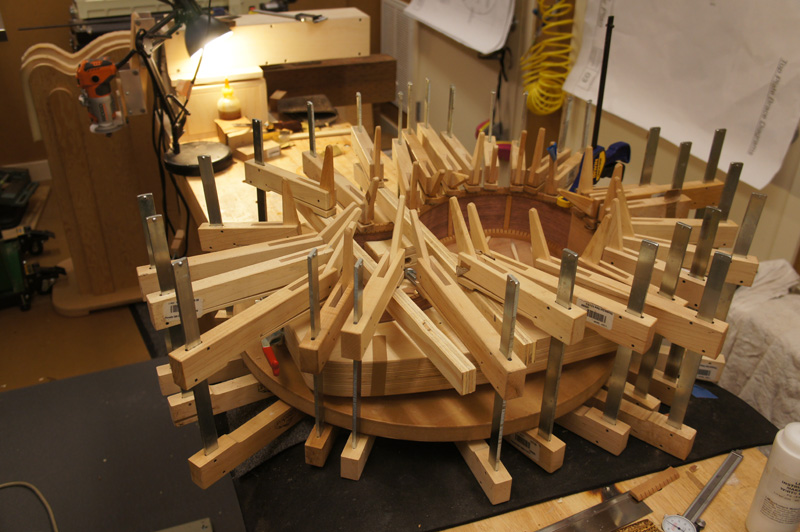
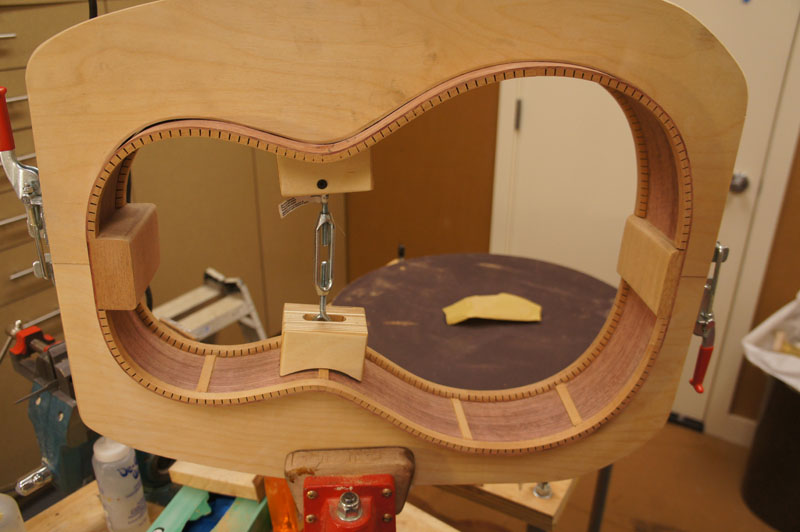
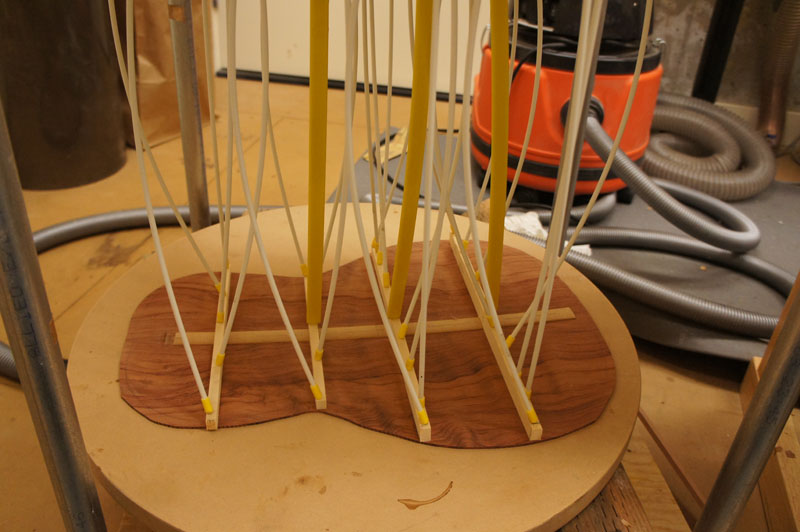
My shop is taking a beating, even though I try and keep it clean. As you can see I am gluing the upper transverse brace in the 28" radius dish.
I went back and forth between gluing it flat or in a dish. The brace itself has a 3" flat area in the center; the rest has the radius.
In the photo you can see in the center I am using one of my honking big stewmac gobars to make sure the flat area gets glued.
I was able to see by the squeeze out that this clamp did the trick. I will see how it works. Given that I am pressing it in a dish there my be a slight
radius still in the center, but it will sand flat on the top.
Jan 6th 2013
I managed to close the box today and trimmed the plates flush to the sides. Before I closed the box up I did some final tap tuning and was able to open up the sound a bit. Through the tap tuning and before I closed the box I used a free software tool visual analyzer to take spectrum traces. After I finished tap tuning I took and recorded another sample. I am not sure what I am going to do with it but I am including it in my notes with the top thickness and the brace sizes.
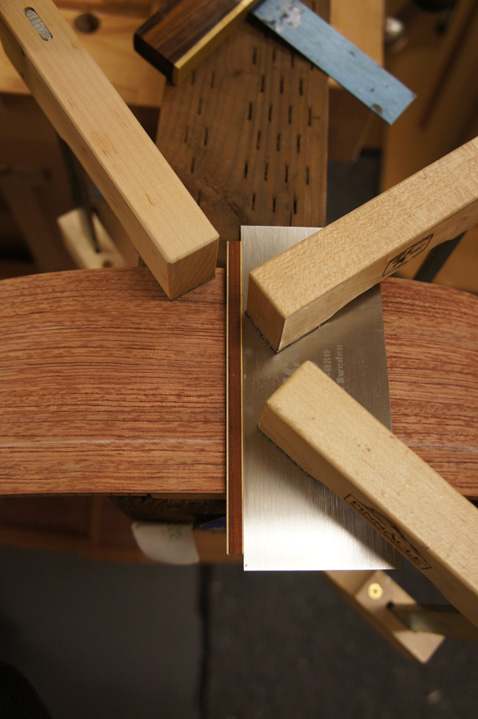
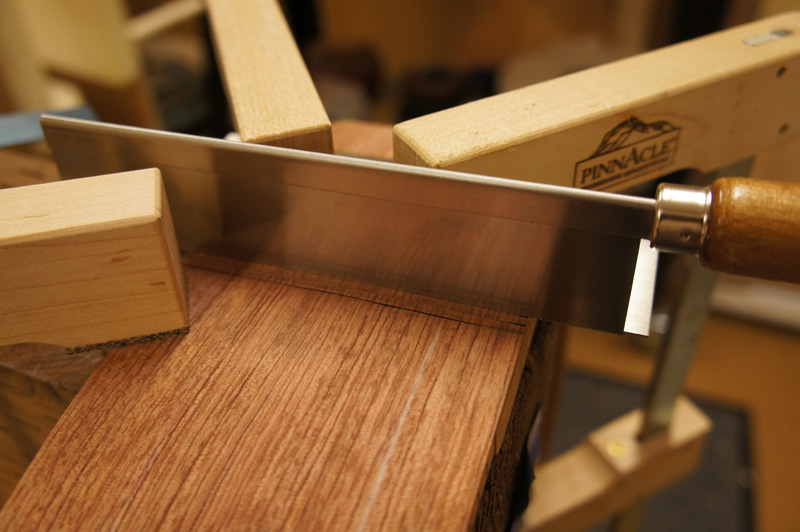
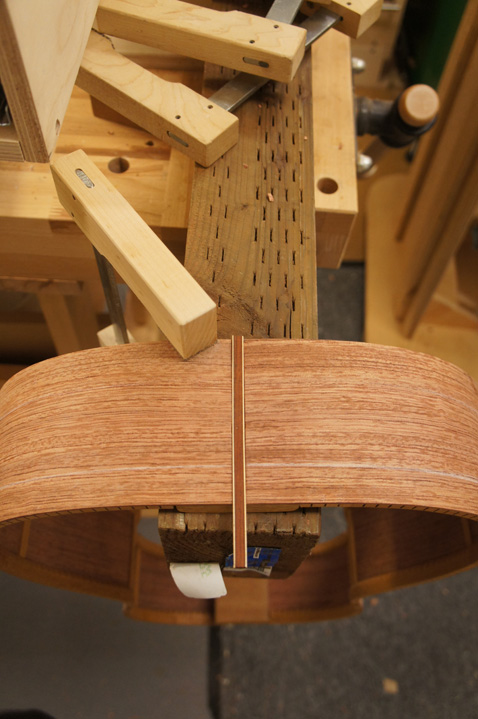
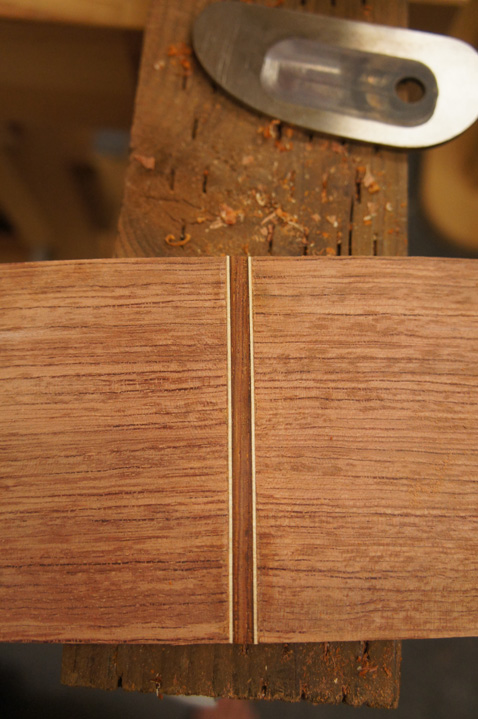
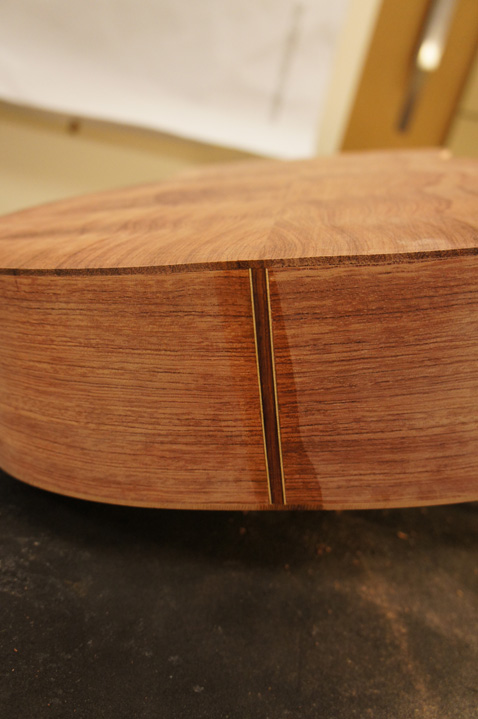
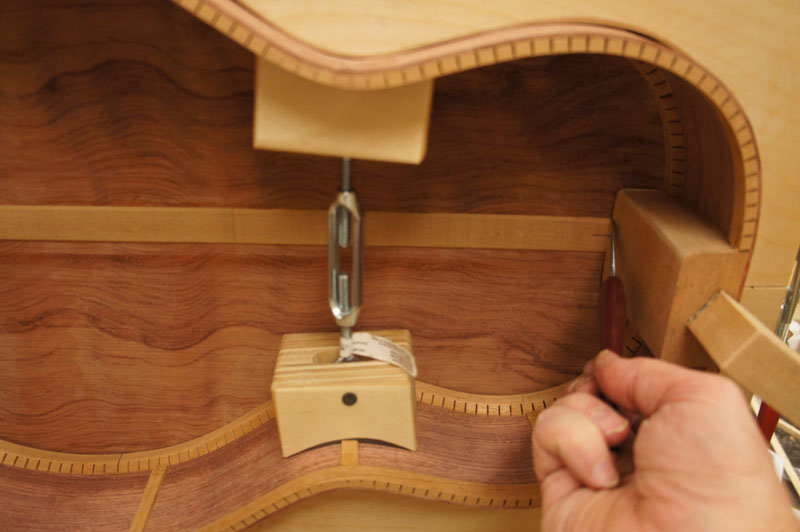
Before I closed the box I added the end wedge (although I am doing it more like a classical guitar and it is more of a strip than a wedge. In the past this gave me fits as it has to be cut right or the install looks a little messy. This time I measured and marked where I thought the cuts should be. Placed my strip (I am using a back center strip) to make sure that I had marked it correctly. I used a scraper has a guide and scored the wood deep on one side with a scalpel. I very carefully razor sawed in the scalpel line to I was through the sides to the end block.
I placed the strip back on the rims against my scraper guide to double sure that I had the correct line for the strip. I scored that line with the scalpel and moved the guide against my scored line. Scored the line a bit deep with the scalpel finished the cut with the razor saw and chiseled out the waste.
The scalpel really helped by starting the initial cut clean. In the past I had worn the edge of cut on the rims so that when I installed the strip even when it was tight I would get a visible (messy) joint.
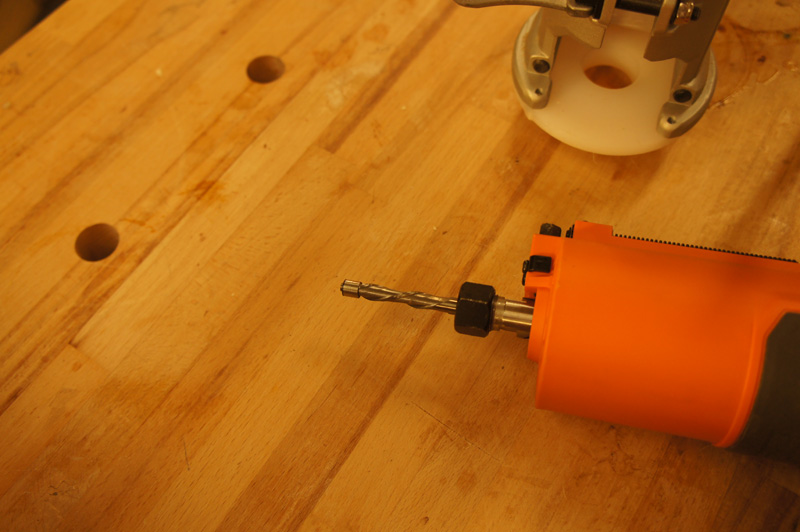
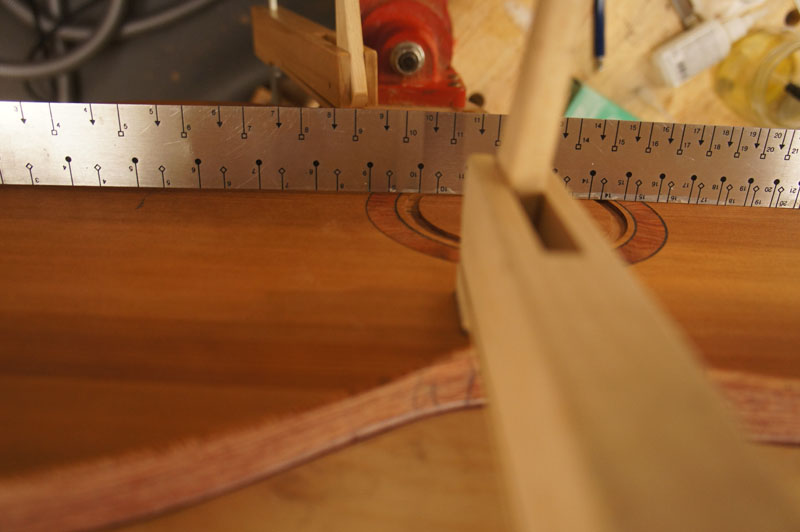
Before gluing on the top I did a final check that I got the top geometry correct. With a straight edge on the top where the fret board extension go I checked to make sure I had 1/8th inch off of the top at the bridge saddle location. I use a drill bit as my gauge.
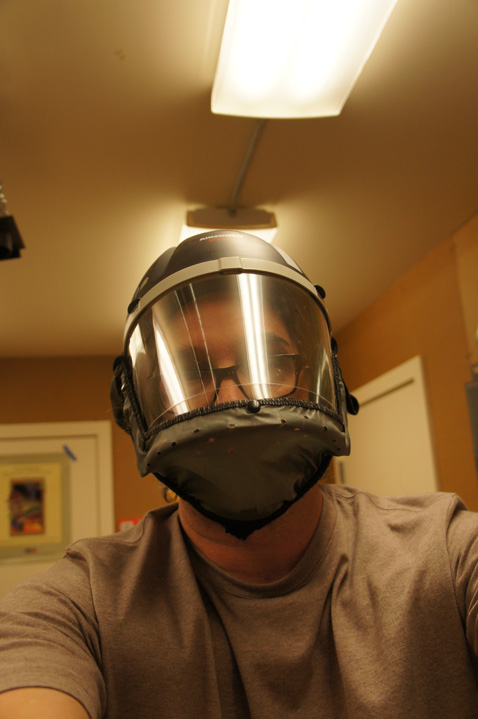
After that check I glued on the top, did my final tuning of the braces, glued on the back and trimmed the plate edges with my new spiral cut flush bit. For the first time I used my new powered full face dust mask. I have been breathing too much wood dust, so I though I better take care of myself.

 I have a few pictures of making the x-brace. This had been hit or miss for me. Now I use an angle tool to mark out the lines I want to cut.
I place the braces together in my parrot vise so that only the depth I want cut is above the vise head. After cutting nice but angled lines going down,
I take the time to use a square to make sure I am cutting square. Otherwise the braces are tilted.
Now I am just waiting for the braces and the maple bridge patch to set.
I have a few pictures of making the x-brace. This had been hit or miss for me. Now I use an angle tool to mark out the lines I want to cut.
I place the braces together in my parrot vise so that only the depth I want cut is above the vise head. After cutting nice but angled lines going down,
I take the time to use a square to make sure I am cutting square. Otherwise the braces are tilted.
Now I am just waiting for the braces and the maple bridge patch to set.